More About Drywall Repair Columbia
Table of ContentsA Biased View of Drywall Repair Columbia5 Simple Techniques For Drywall Repair ColumbiaThe Greatest Guide To Drywall Repair ColumbiaWhat Does Drywall Repair Columbia Mean?
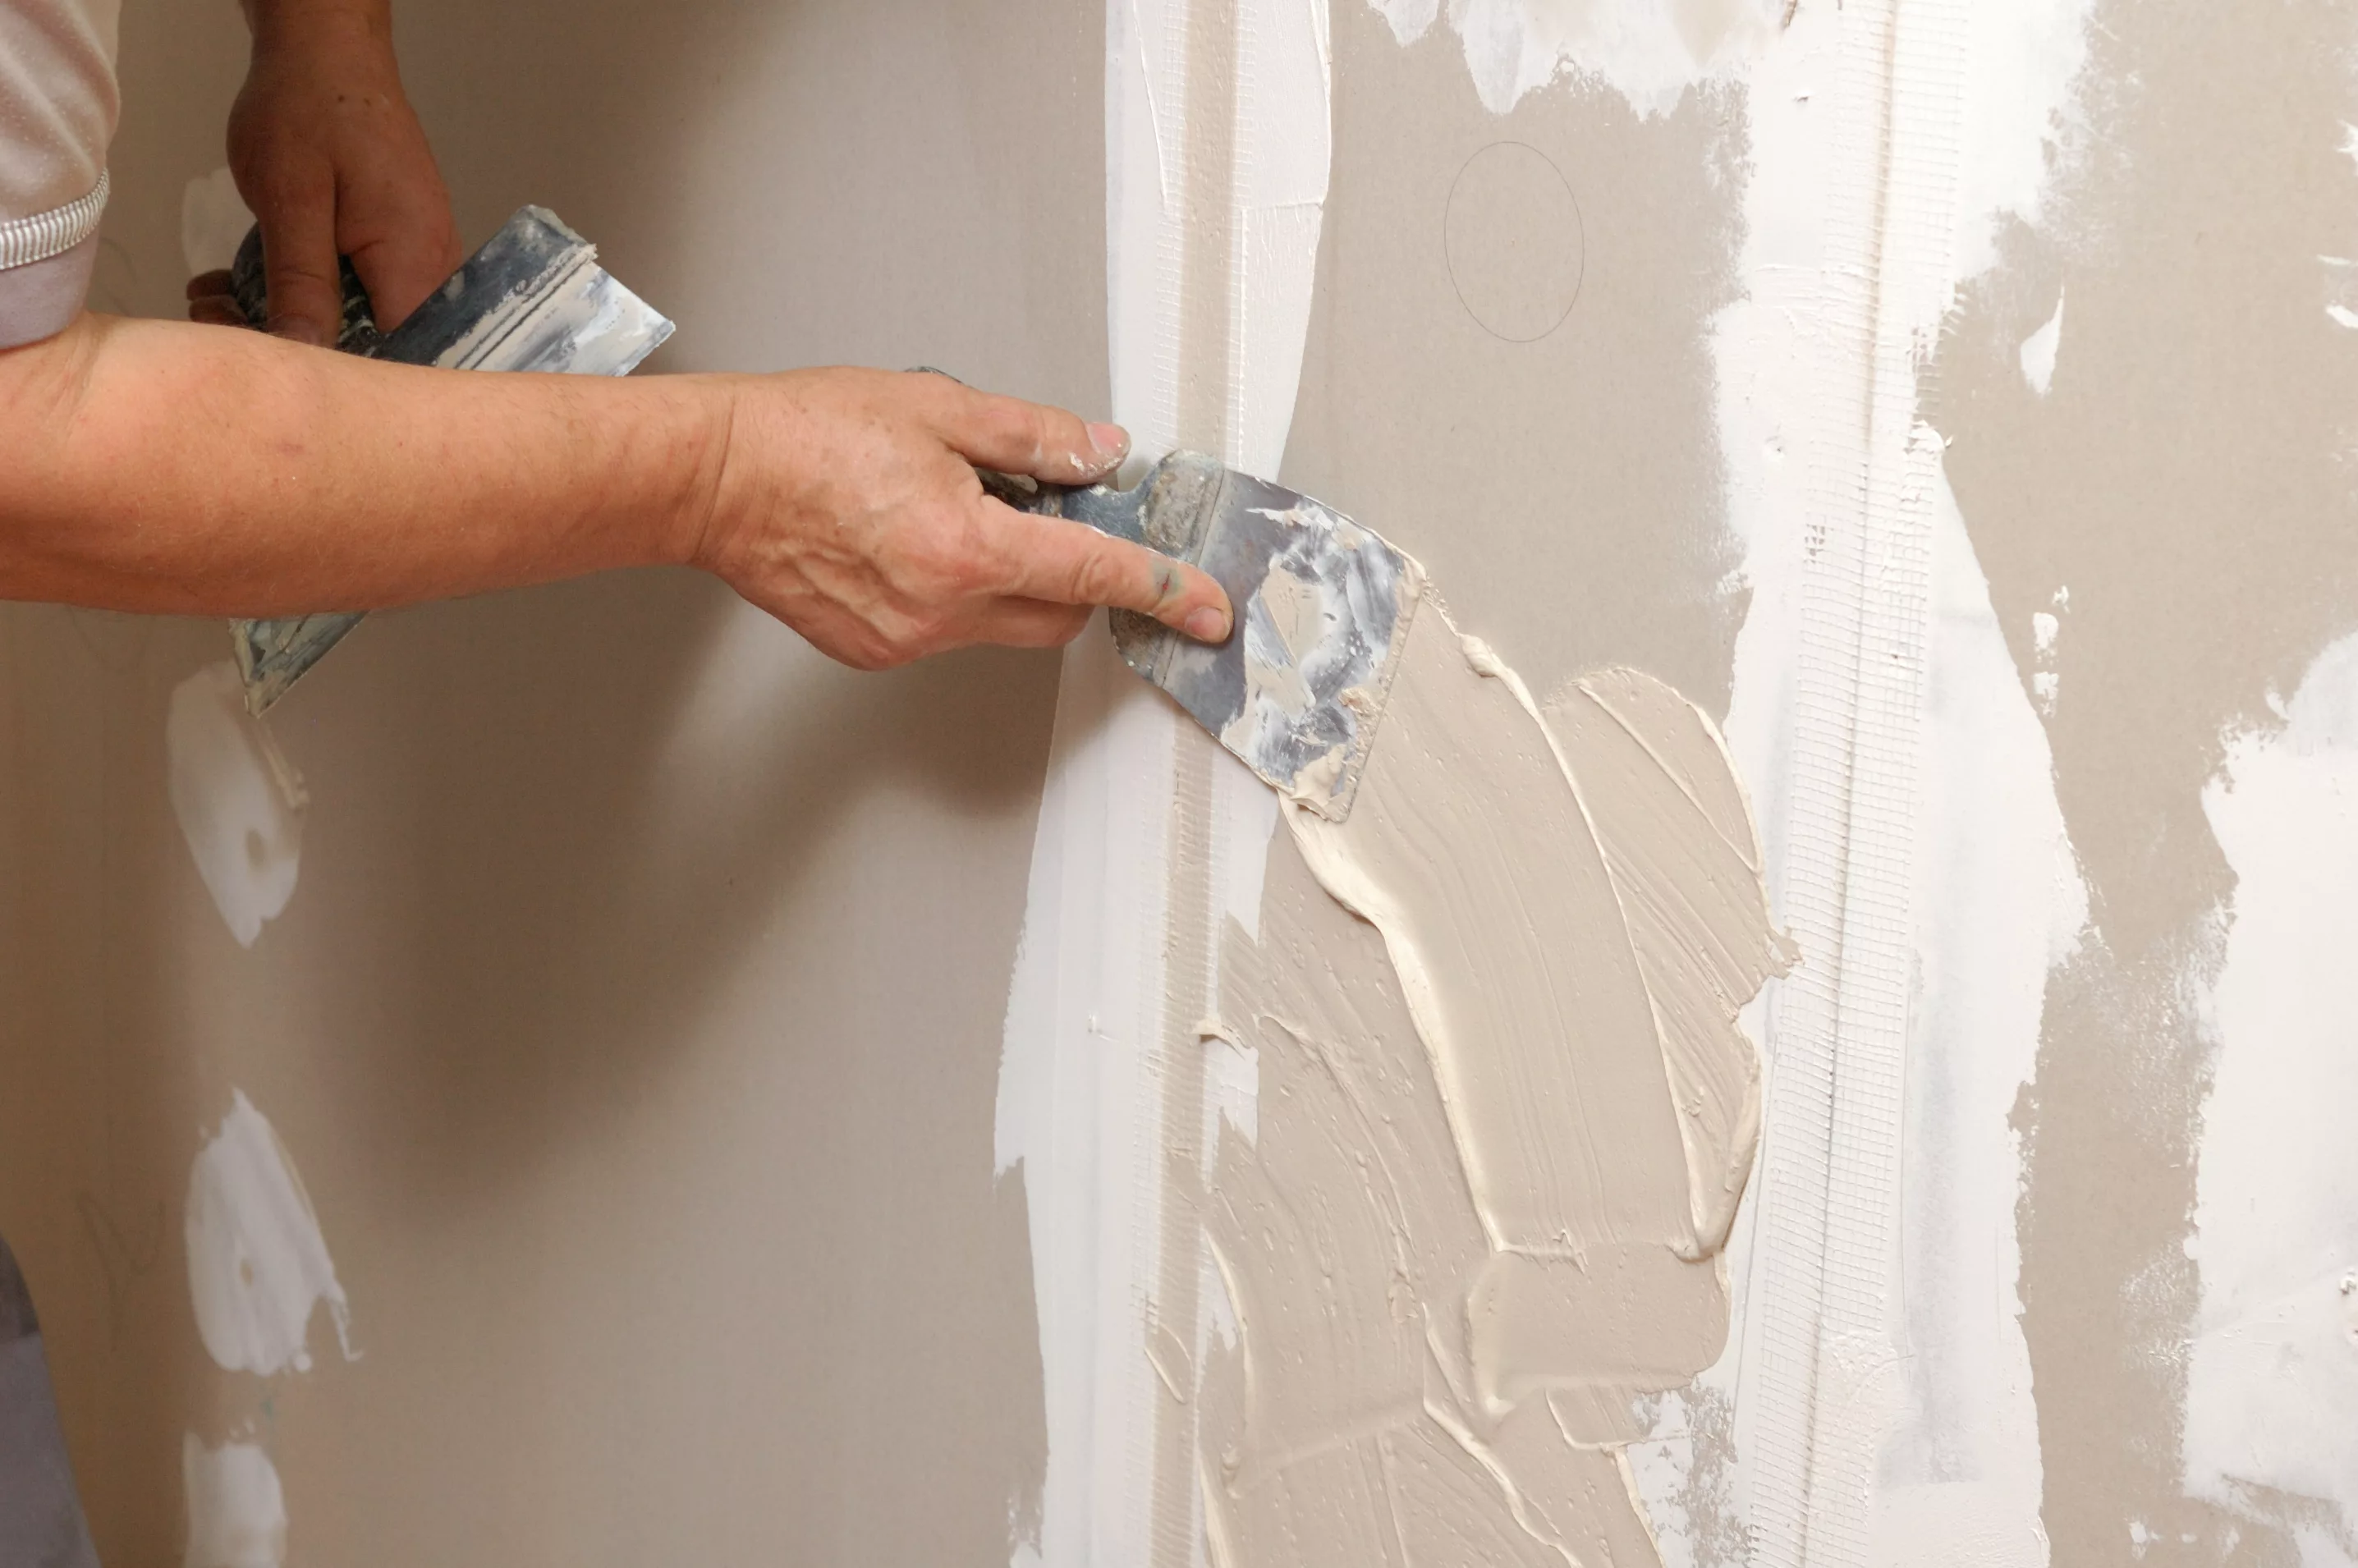
Press some, but not all, of the substance out from under the tape so you don't develop a big hump on the wall surface. Immediately use a light finishing to the topside of the tape, tapering it out onto the wall.A thin coat is simpler to sand, and also you'll be less most likely to remove as well much while fining sand as well as subject the patch. For joint compound to appear flush with the wall surface near the damages site, "plume" the mud as you use it.
— Cloud Links (@ldcloudlinks) January 26, 2023
If you reduced corners on sanding drywall the repair service website will be visible, so take your time. When the fixed location is dry, take to it with some fine-grit (100 or 120) sandpaper. After the initial round of fining sand, include a 2nd layer of mud, spreading it about 2 inches beyond the limits of the very first layer.
The majority of drywall repair work sets included every little thing you require for wall repair, including the mesh, spackle, putty knife, and sandpaper. Begin by placing the patch over the opening, then spread joint compound over the patch as well as smooth around the edges. Once dry, sand until smooth. As a home settles, its framing can turn.
The Ultimate Guide To Drywall Repair Columbia
Drive a drywall screw halfway right into the center of the strip. Holding the strip by the screw head, location it inside the opening. Setting the furring strip so that the drywall overlaps it on either side. While holding the furring strip in position, drive several screws with the drywall right into the furring strip so that it's protected in place.
Picture: istockphoto. com, Lots of DIYers reduced corners by stopping working to utilize drywall tape when mudding seams. This is a blunder. Drywall tape helps hold the joint compound in area, avoiding it from drooping as it dries out or cracking as well as collapsing out of the seam in time. There are numerous designs of drywall tape you can use.
Image: istockphoto. com, Think you're done? Not so fast! Run your hands over the repair to ensure that it feels smooth. With your holy place versus the wall surface, look for bulges that may require much more fining sand. When you're pleased with the look of your spot task, prime as well as click site repaint the location.
Getting My Drywall Repair Columbia To Work
For openings that are larger than your normal nail hole, you may require to know how to spot drywall with a drywall repair package. A lot of drywall repair work sets include the drywall tools you need and also a 4-inch by 4-inch adhesive drywall patch, although you can buy larger spots separately. Make certain the opening you require to fix is small sufficient for these patches to cover before using among these sets.
Use a second layer of joint compound if needed to extensively fill up and also cover the area. When completely dry, sand the location smooth. Repair the wall paint. Idea: If it's been a while since the wall surface was last repainted, you may need to paint the whole wall, not just the covered area, to make sure the shade suits.
Textured drywall is a little bit more challenging, however still pretty straightforward to fix. Sand your spot location smooth.

Not known Factual Statements About Drywall Repair Columbia
Shake the can as well as spray the patch area in a circular motion 6-18 inches from the wall surface. Allow the distinctive compound to dry according to the maker's guidelines, then prime and also repaint the surface area.
It may seem counterproductive to cut a larger opening in the wall, yet it is the only method to get a solid, smooth surface in the long run. To cut your hole, beginning by using a stud finder to locate the studs on either side of the damages and location a level over the opening, straddling the 2 studs.
Our residence featured a layer of 3/8-inch drywall below the 1/2-inch drywall, most likely as a way of bringing the surface of the drywall bent on fulfill a plaster surface area or existing drywall. To avoid investing in and also cutting material to pad the stud and make up the difference, we left the 3/8-inch drywall on the studs as a spacer and put the 1/2-inch drywall over top of it, equally as we discovered it.
If you were to just screw a spot to the studs on each end, your drywall mud would certainly split in no time at all and also the patch itself would never ever more endure also the least hit. Due to this, it is wise to position a scrap piece of wood in the center of your intermediary as well as screw it in position utilizing drywall screws with the existing drywall (Photo 1).